Assalam-u-Alaikum, Welcome again folks. Today in this post I will be guiding you to make Android in App database through SQLite database. So lets get started!
Step 1
Create new Project & name it whatever you want to. After naming Project you will be asked Company Domain, this is where you define your Project package.
I am naming Project to “DBClass” and Company Domain “tuts.com”. Company Domain counts the most while uploading your app on Google Play Store.
After naming proceed to next.

Step 2
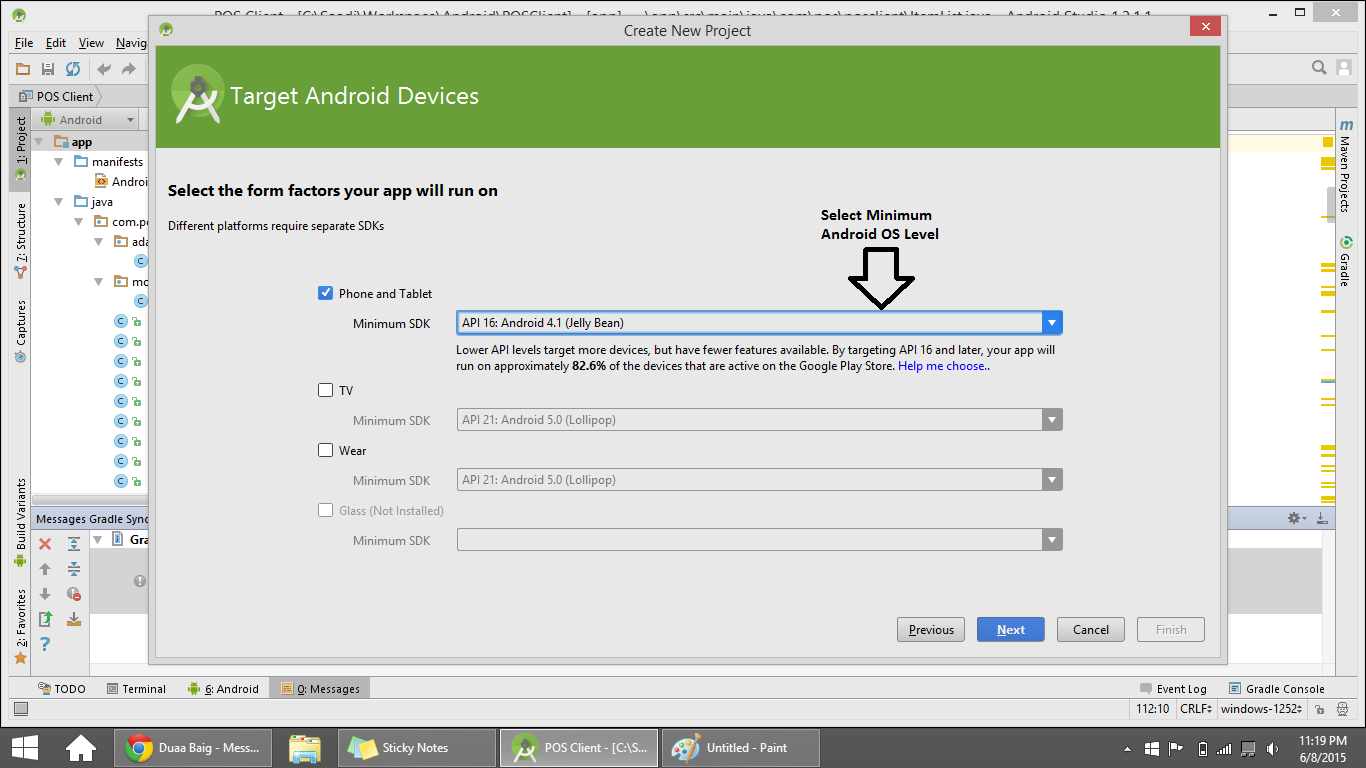
In next window you will be asked to choose minimum Android OS Level OR API Level. Best choice is to select API 16 OR Android 4.1 (JellyBean), as mostly nowadays at minimum Android 4.1 JellyBean is widely used.
Step 3
After selecting Android OS Level you will prompted with this window asking you which type of android layout you wish to use. Right now keep it simple & select “Blank Activity” and proceed to next.

Step 4
In this window you will be asked about the name of your android activity & layout name. By default Activity Name is “Main Activity” & layout name is “activity_main”.
NOTE:
Do remember to use only small caps while naming layout name.

Step 5 (a)
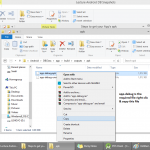
Now your application is ready to get coded. For this app you Right click your package,(here its com.tuts.dbclass) & select New then Java Class
Right click package -> New -> Java Class.

Step 5(b)
Name this Class DBController.

Step 6(a) – Real coding starts
Here define your database name, tables & version. Main things you have to keep in your mind:
Database Version: Changing this would delete all your previous records & make new entries. Better to change its version when doing the re-engineering of your application
Database Name: Name of your database. better use small caps & if your DB Name consists of 2 words then use underscore(“_”) in between. Example: “db_class“.
Same applies to Database Table & Table Column names.

Step 6(b)
The most important Helping classes used in making database app are DBHelper, SQLiteDatabase
DBHelper: DBHelper would be inner class where all of the SQL queries will be defined.
SQLiteDatabase: This class is the most important of all as all queries will be executed via this.
Context: It will get the current activity of the application from where the query is called.

Step 6(c)
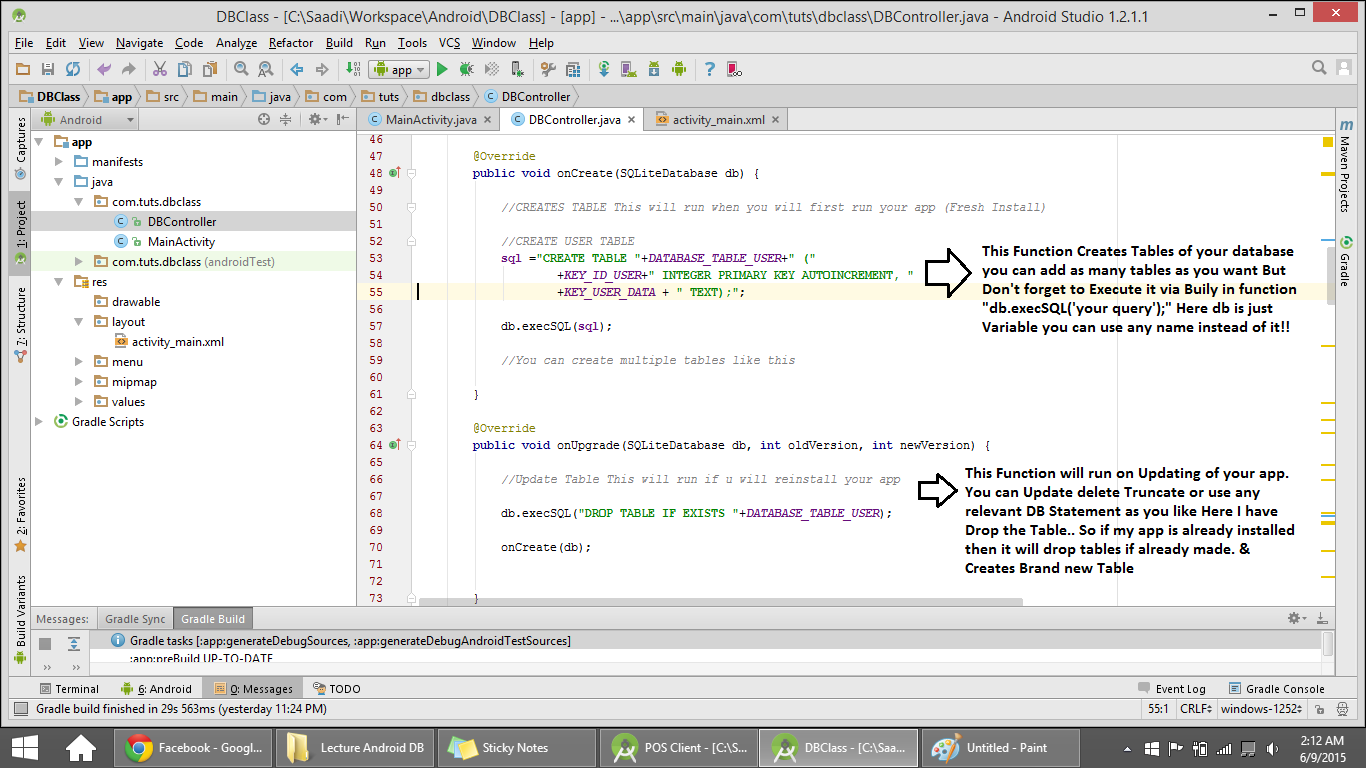
Two most important built-in functions of SQLite database, onCreate & onUpgrade.
When your app fresh installs onCreate function is called whereas when you re-install the app then onUpgrade function is called.
Step 6(d)
Most frequently used database functions:
1) openDatabase
2) closeDatabase
1) openDatabase:
You can open database in 2 ways. One through Opening “db = dbhelper.getWritableDatabase();” where as second way is “db = dbhelper.getReadableDatabase();”.
In Writable version you can read as well as write database entries.
In Readable version you can just only read database entries.
Best option is to use Writable database.
In the fig attached I have shown how to make function of both of these types.
2) closeDatabase:
closing database simple. You just have to close Database Helper class.
“dbHelper.close();”.

That’s all for now. Stay tuned for next part of android database connection. Till then Take Care 🙂
Tagged with: android android database android db android sqlite android studio how to make android database application how to make android db app how to make android sqlite application java android sqlite java android sqlite database tutorial